
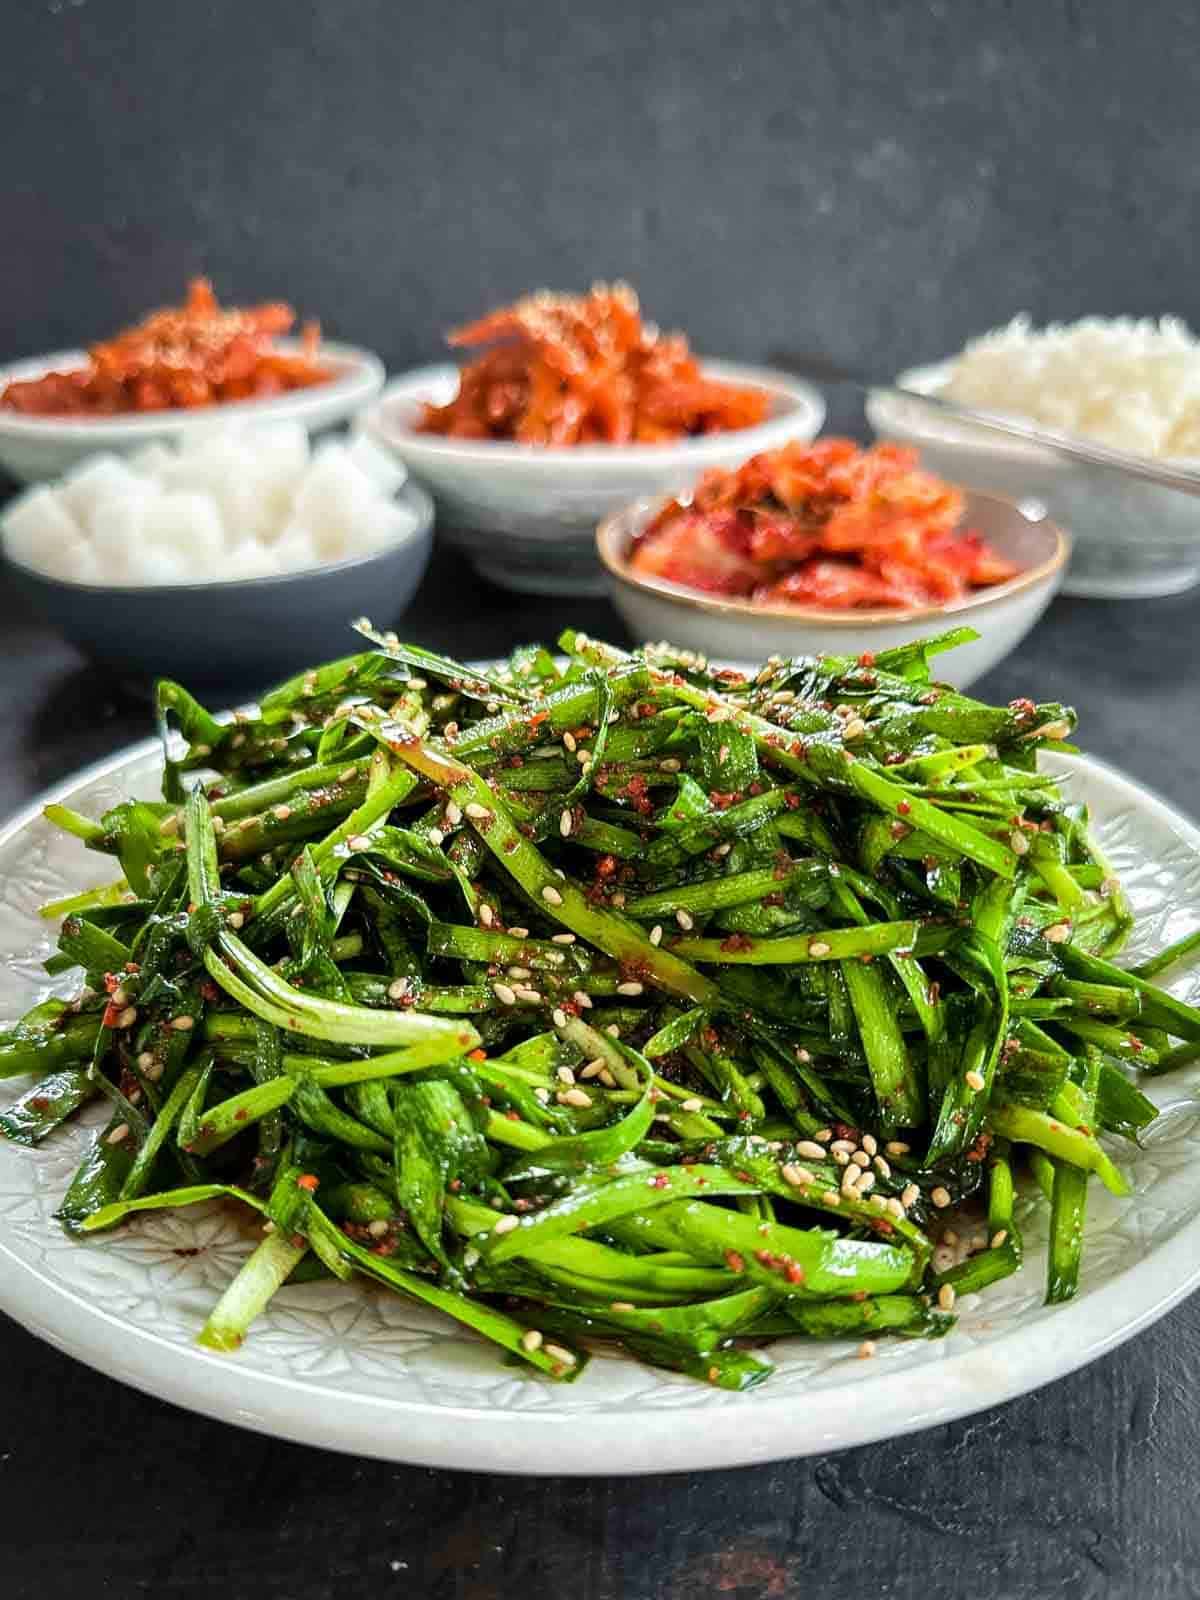
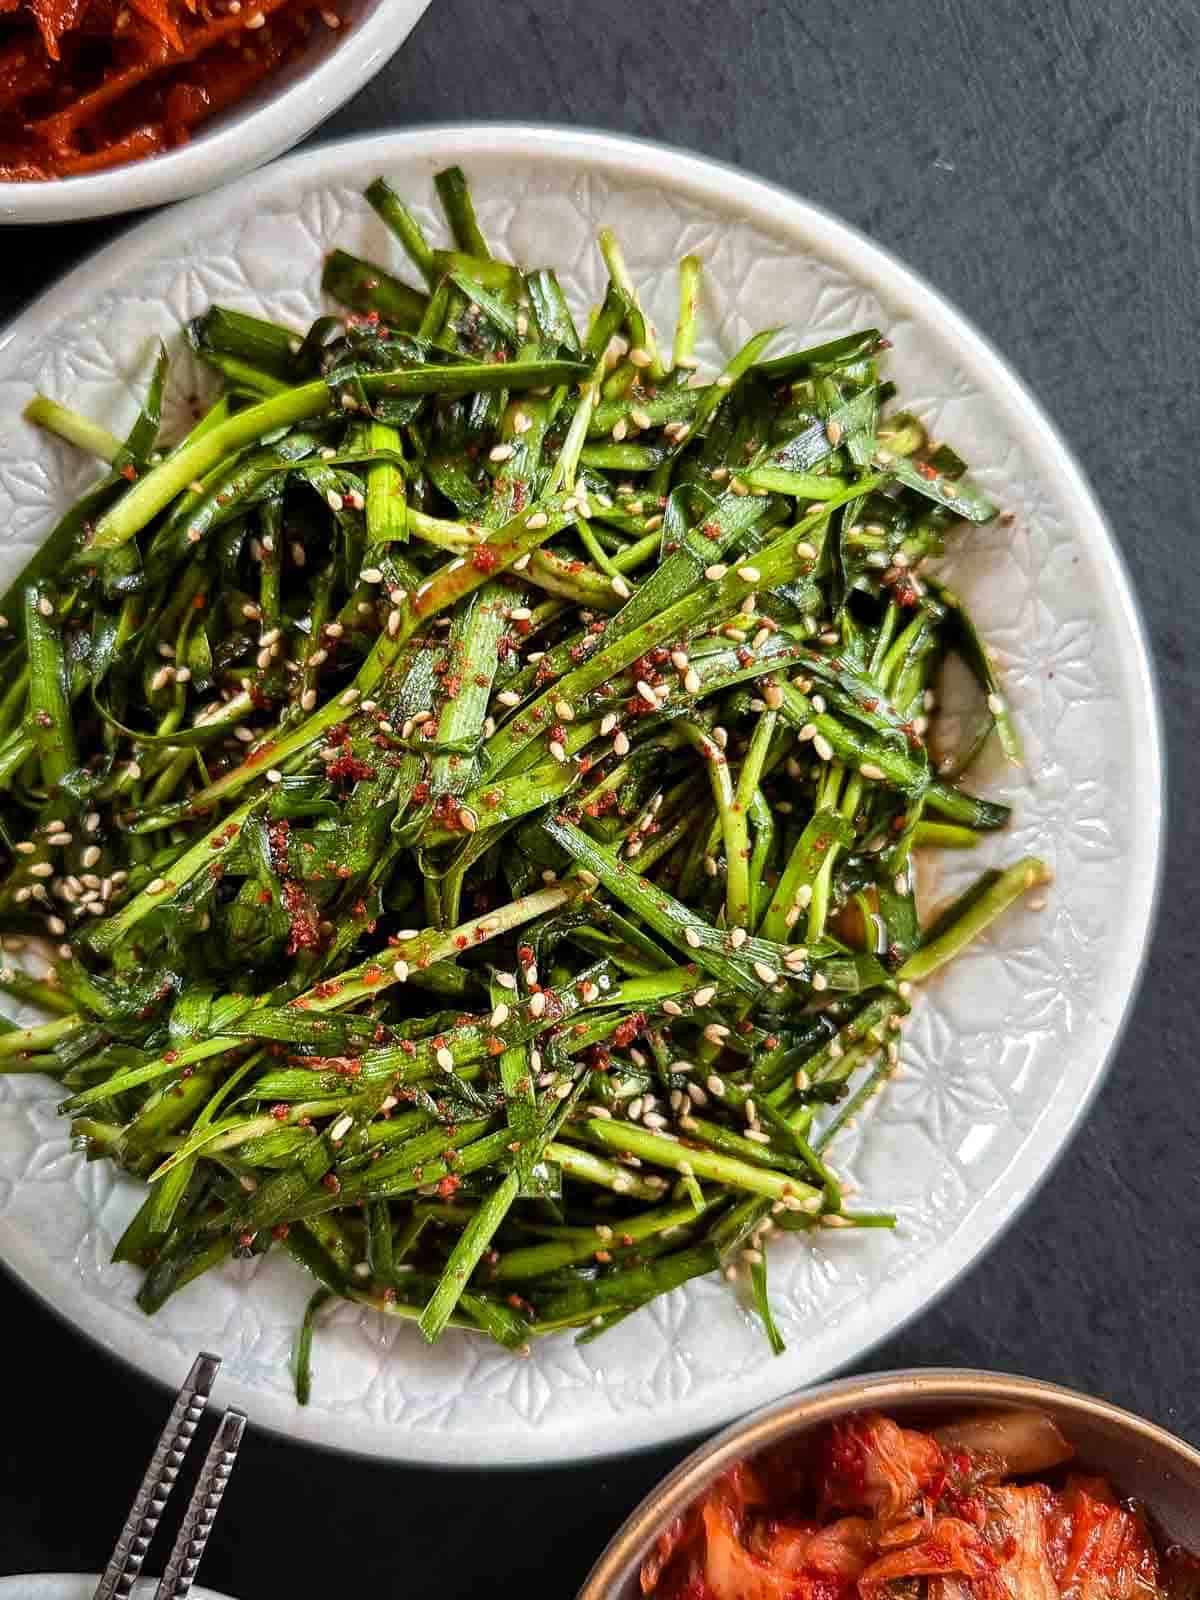
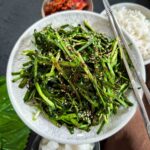
Asian Chive Kimchi – Buchu Kimchi [부추김치]
Love the seamless blend of these fresh and bitey Asian chives with the familiar flavours of Korean gochugaru. No fermentation required and simply delicious!
Why You’ll Love Asian Chive Kimchi
Buchu Kimchi is a traditional Korean side dish that you can add to your repertoire of Korean banchan side dishes you can make in your own kitchen.
The beauty of this side dish recipe is that it does not need to go through a fermentation process like a traditional kimchi recipe. All you must do is let it sit for 30 minutes before you serve it.
The Asian chives are consumed raw and we do love how aromatic and herbaceous it is. Mixed through with the familiarity of gochugaru (Korean red pepper flakes), fish sauce and sesame seeds, this is truly irresistible.
Done and dusted in a flash, perfectly served with our other banchan such as Korean Pickled Radish – Chicken-mu or Korean Spinach Side Dish – Sigeumchi Namul.
What Is a Korean Chive?
In Korean cuisine, “buchu” refers to garlic chives or Asian chives. This type of chive has a distinct garlic flavour and flat, broad leaves. They are commonly used in Korean cooking to add a mild garlic note to various dishes.
The flavour of garlic chives is milder than that of garlic cloves, making them a versatile ingredient that complements a wide range of dishes without overpowering other flavours.
Korean chives are not to be mistaken for the regular chives in the herb section of the supermarket. Regular chives are round while Asian chives are flat.
What Is the Difference Between Chinese Chives and Korean Chives?
Both Chinese and Korean chives are very similar, and in most cases, they are treated the same way and simply called Asian chives or garlic chives.
Chinese chives are known to have a more distinct garlicky flavour compared to Korean chives, and their leaves are slightly darker green.
Recipe Overview
Flavour/Texture: The primary taste of Buchu Kimchi is a delightful combination of pungent, savoury, and slightly spicy notes. The garlic chives contribute a mild garlic flavour, adding depth to the overall taste.
The seasoning, typically a blend of Korean chilli flakes (gochugaru), garlic, fish sauce, and the rice flour mixture, creates a harmonious balance of umami, heat, and a hint of sweetness.
This Korean side dish has a crisp and crunchy texture. The Asian chives maintain a firm yet tender consistency, offering a satisfying bite.
Ease: Not difficult at all with the trickiest part being the glutinous rice flour paste. Otherwise, you’re just mixing all the ingredients together and letting it do its work.
Time: Out of the 38 minutes, 30 minutes are allocated to idle time, allowing the mix of ingredients to work its magic and soften the Asian chives, making them into a more palatable texture.
Ingredients
These are the ingredients you need for Asian chive kimchi:
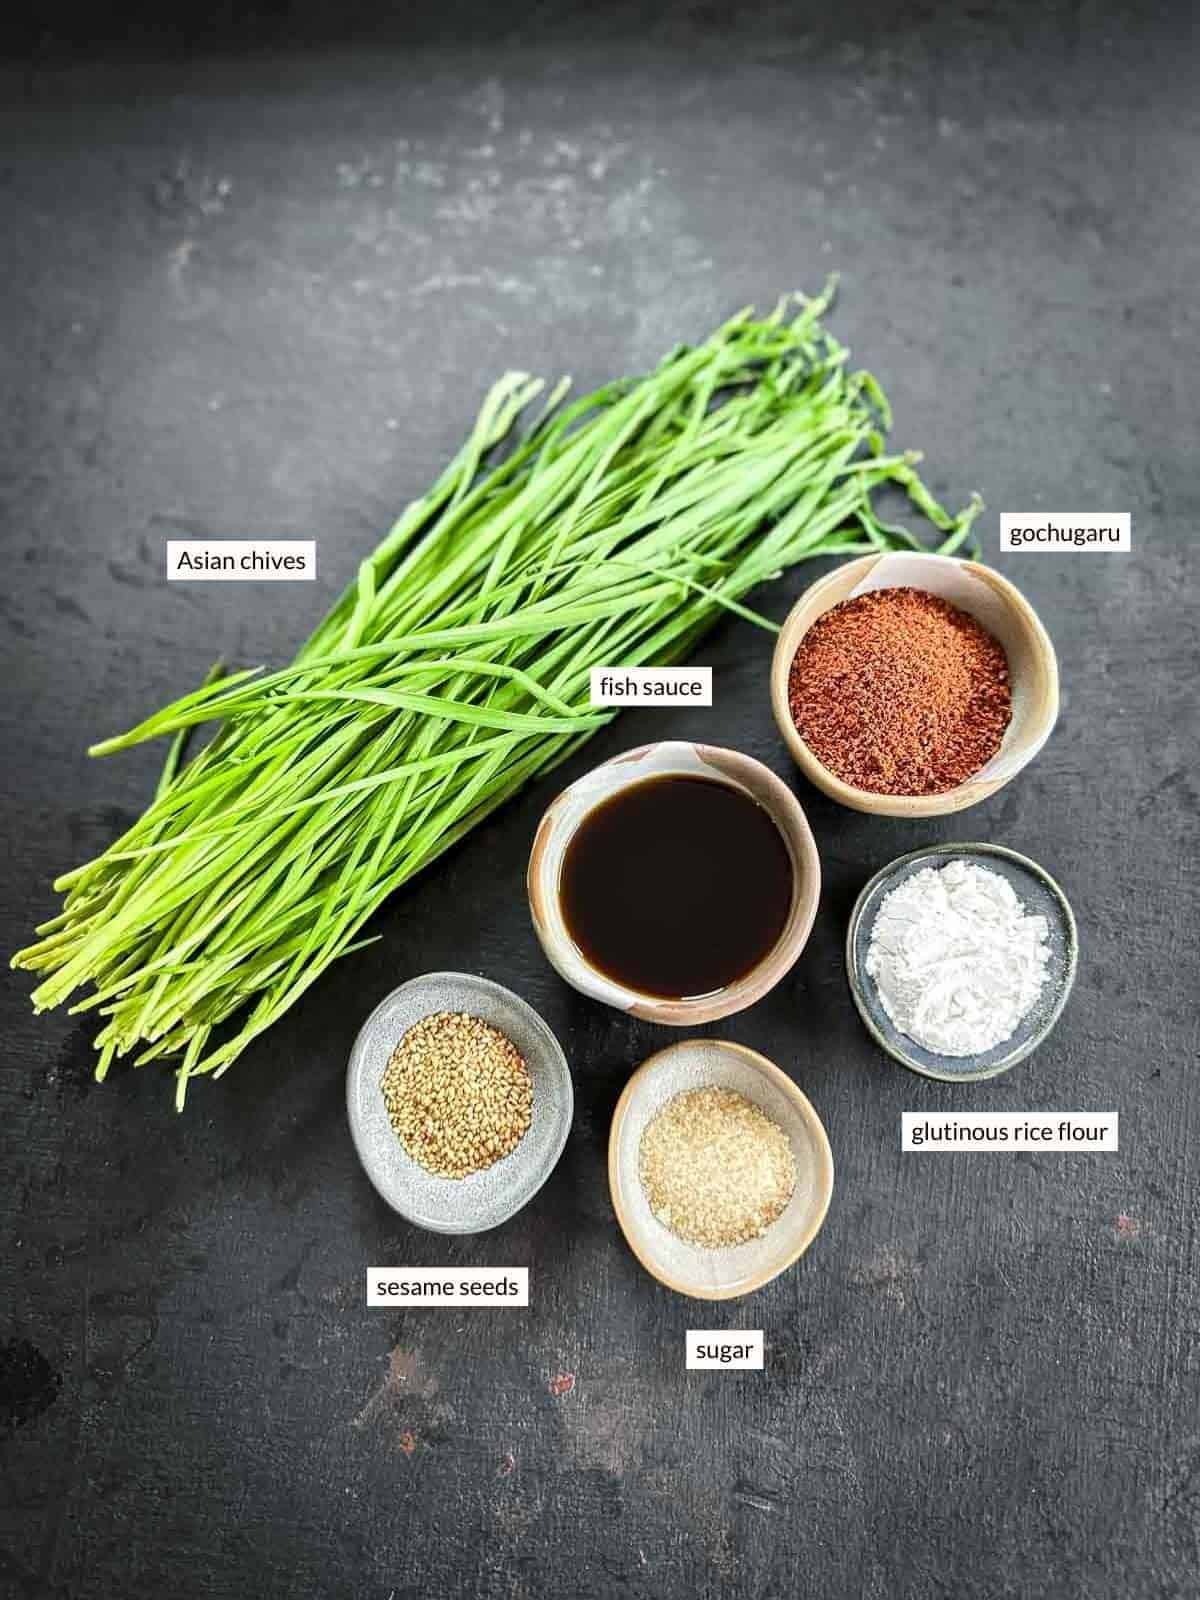
Asian chives: Head to the Korean supermarket to find these chives. Usually, one bunch weighing in at around 450g or 1 pound will suffice. Otherwise, any Asian supermarket will have them.
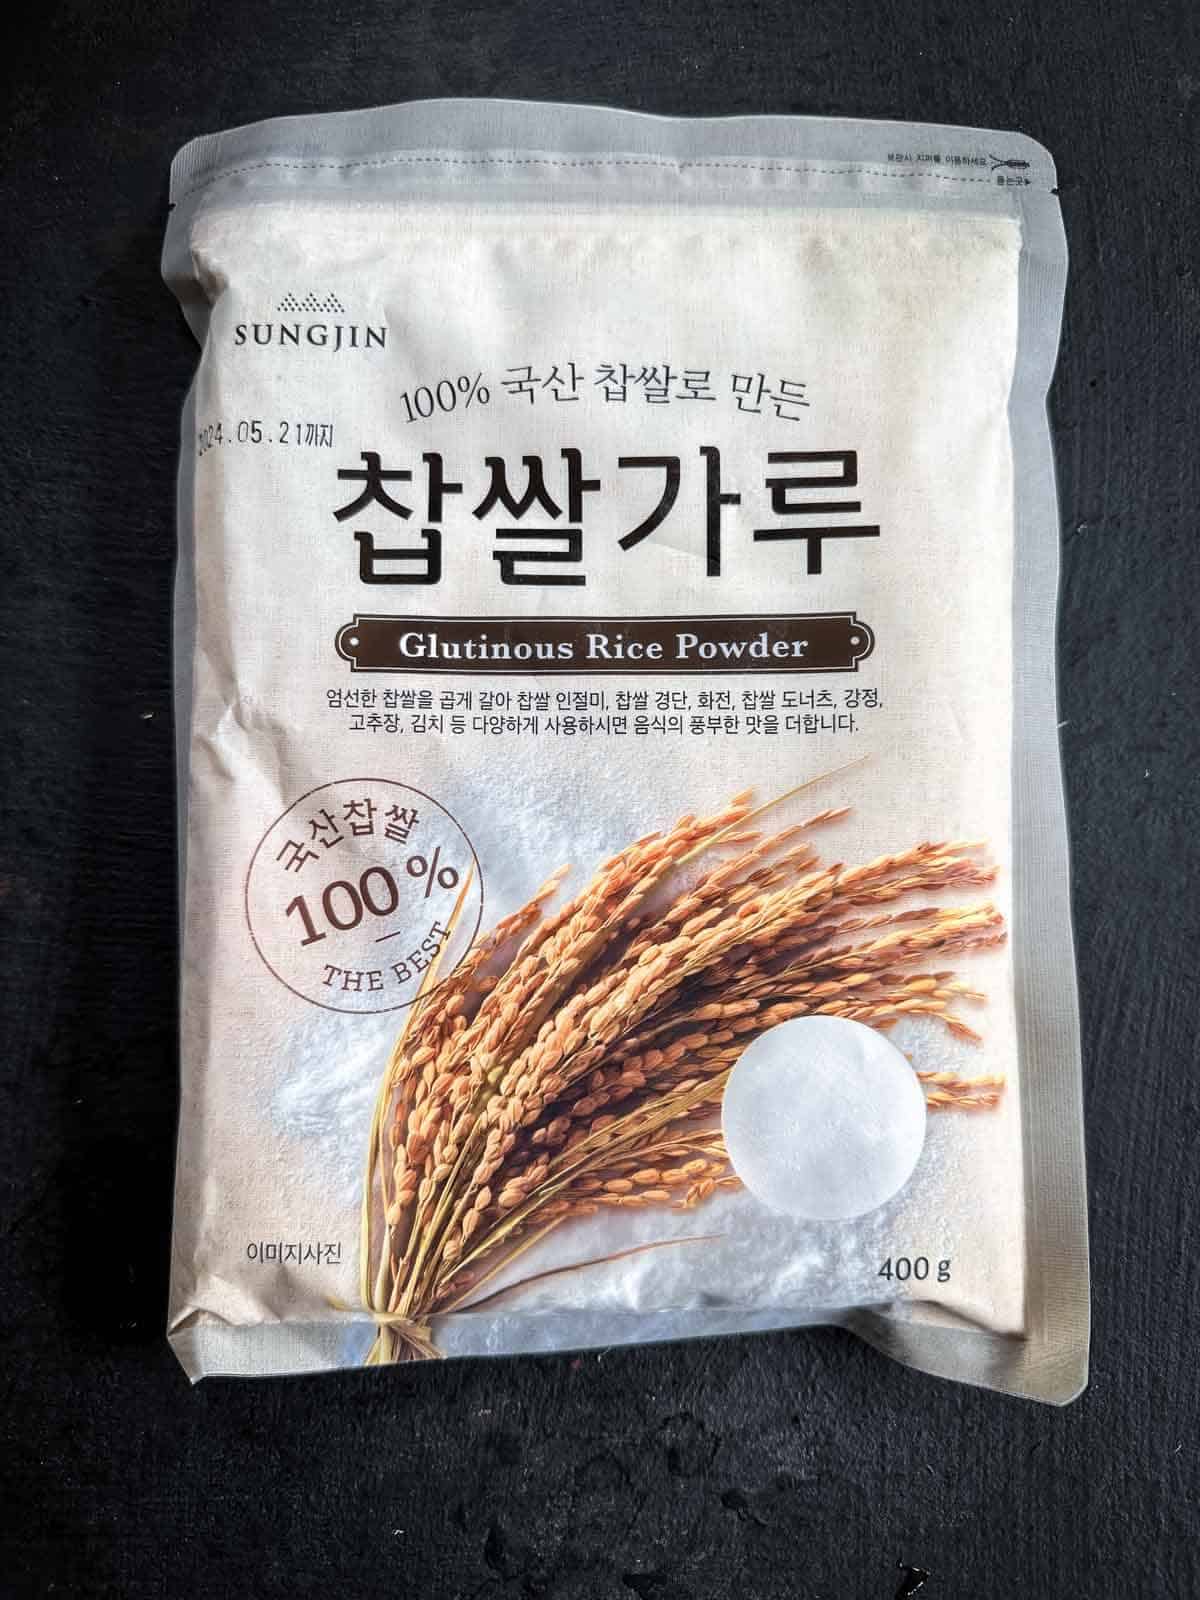
Glutinous rice flour/powder: Glutinous rice flour is milled flour made by grinding cooked and dehydrated kernels of long or short-grain glutinous rice. Again, easily found in the aisles of any Korean supermarket.
Fish sauce: Gives the recipe the umami flavours it needs.
Gochugaru: Can’t do without these red pepper flakes. They do have a good level of heat, so you may wish to tone it down a little to begin with if you are unsure.
Sesame seeds: White, roasted sesame seeds. I usually buy them ready to go. If you don’t have roasted ones, just give them a quick dry toast in a small saucepan.
Variations and Substitutions
Glutinous rice flour substitute: Be on the lookout for sweet rice flour as well, as they are one and the same thing. Otherwise just use all purpose flour to create that thick concoction.
Vegan option: Replace fish sauce with a vegan version or you can use soy sauce. This will still give the banchan the slight umami flavour.
Fermenting: If you prefer your buchu kimchi to be fermented, leave it in an airtight container at room temperature for 2 days and then place in the fridge. This will give it a slightly sour taste.
Instructions
Step by step instructions for how to make Asian chive kimchi
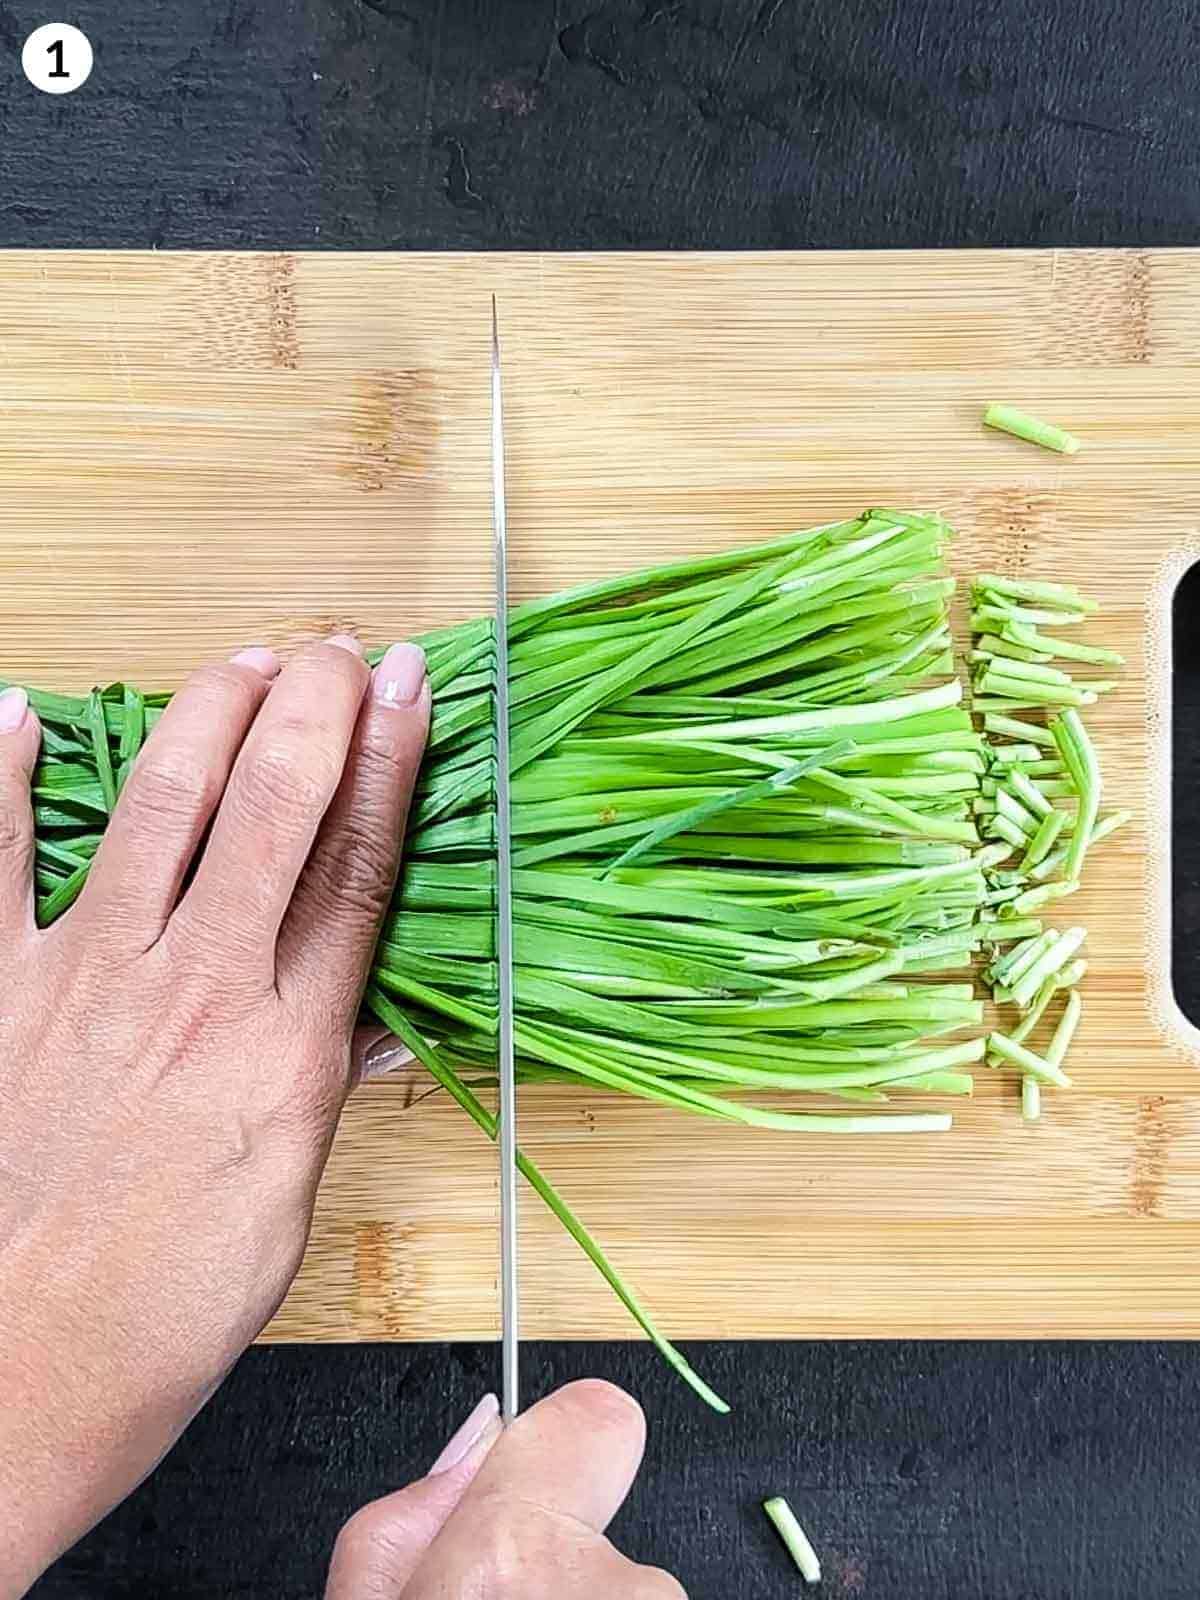
Cut off the ends of the Asian chives. Then cut into 3 equal parts.
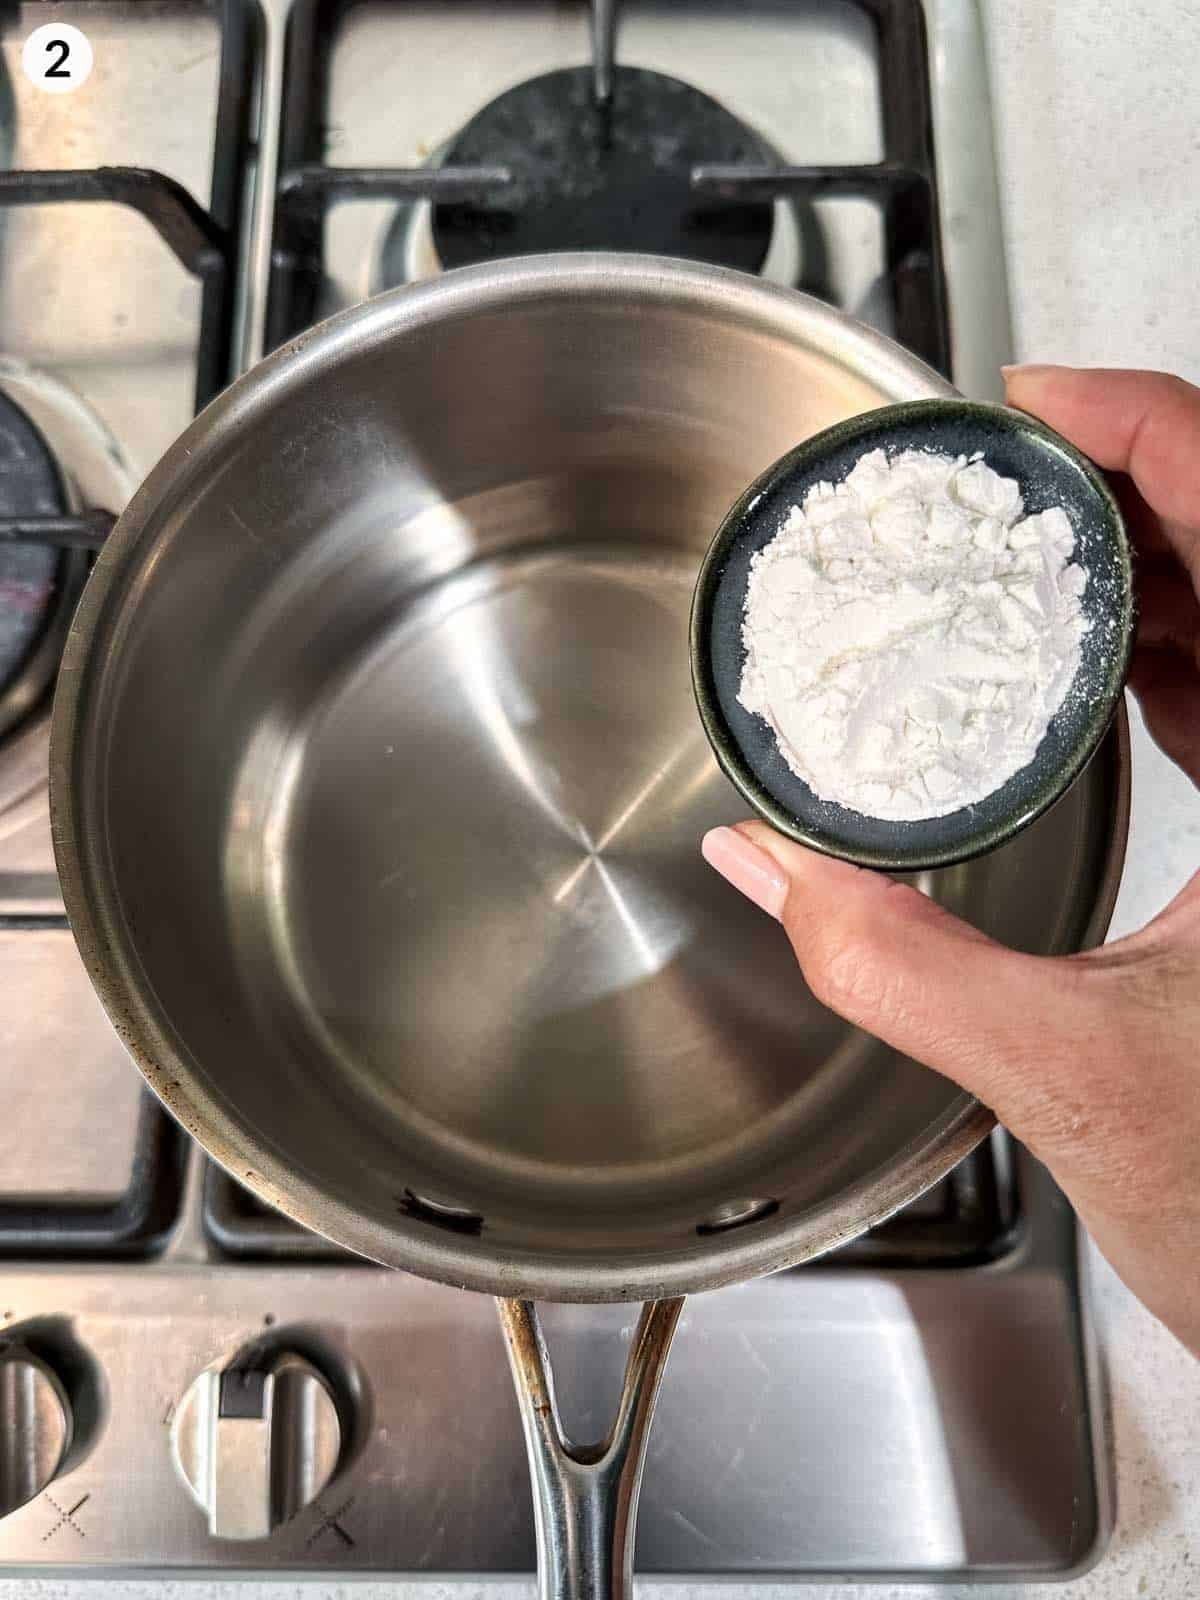
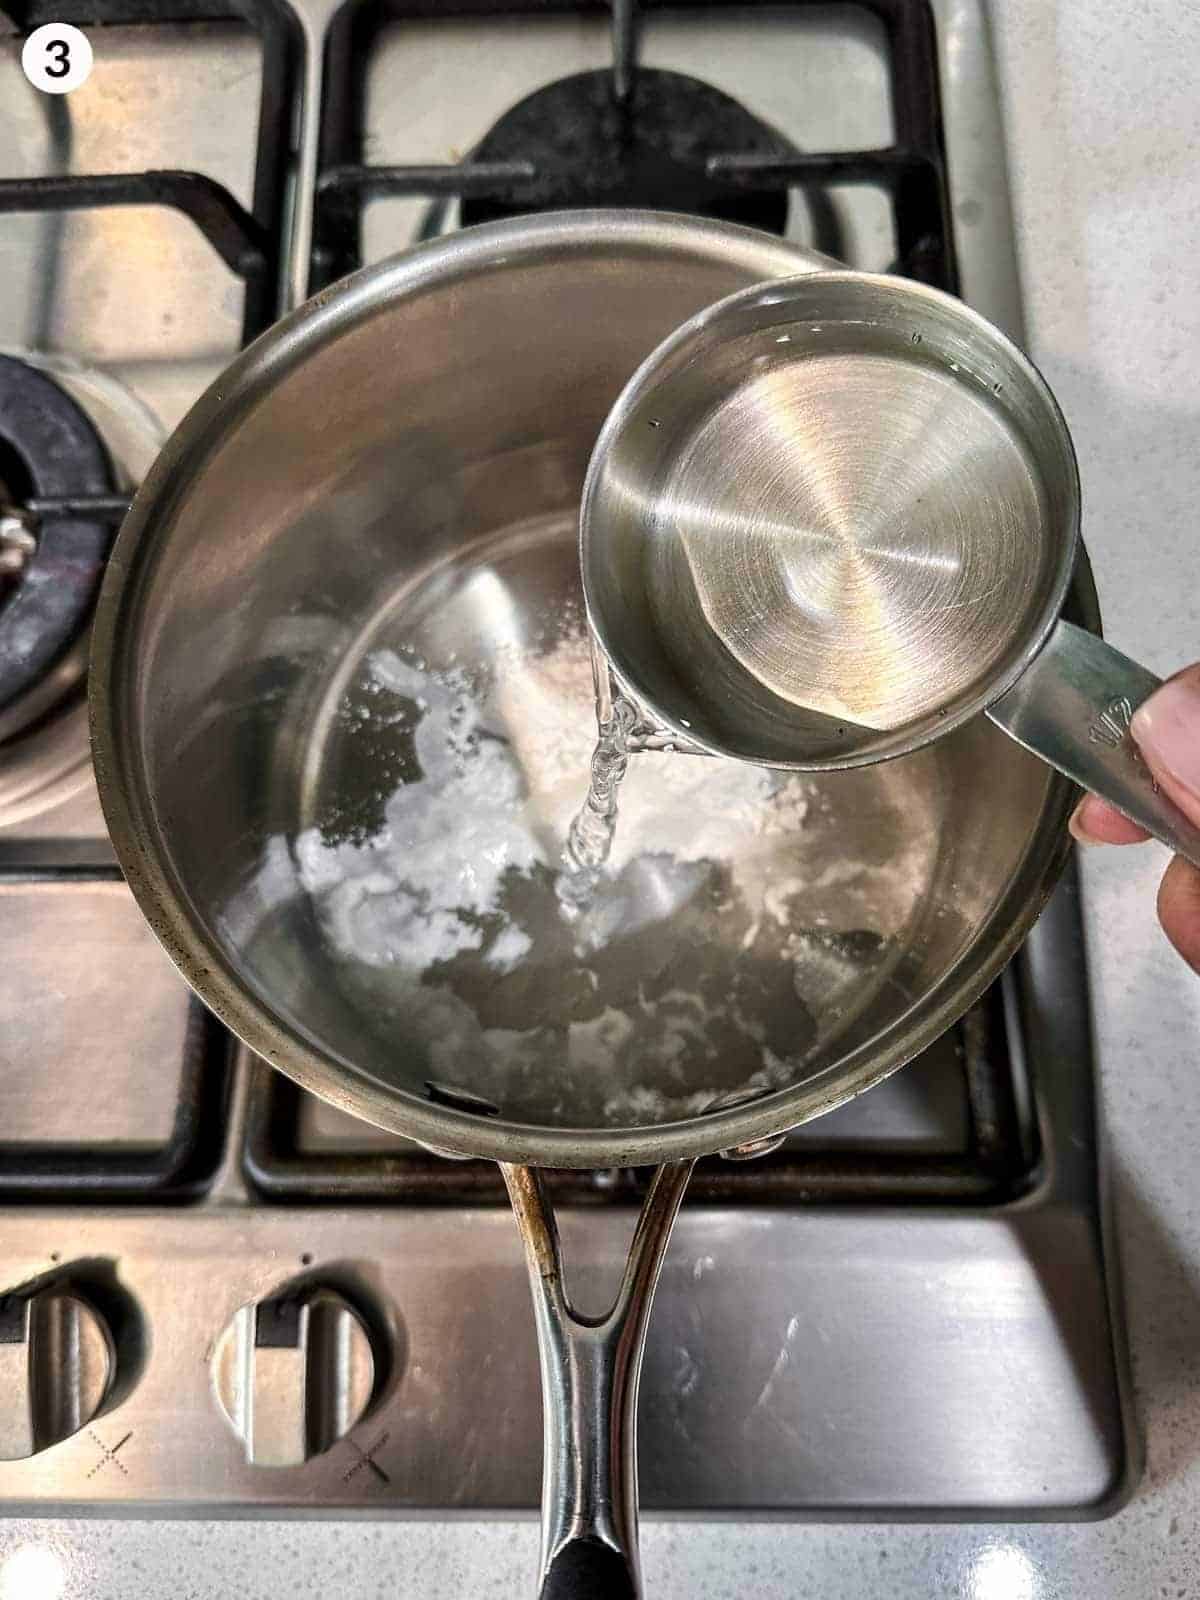
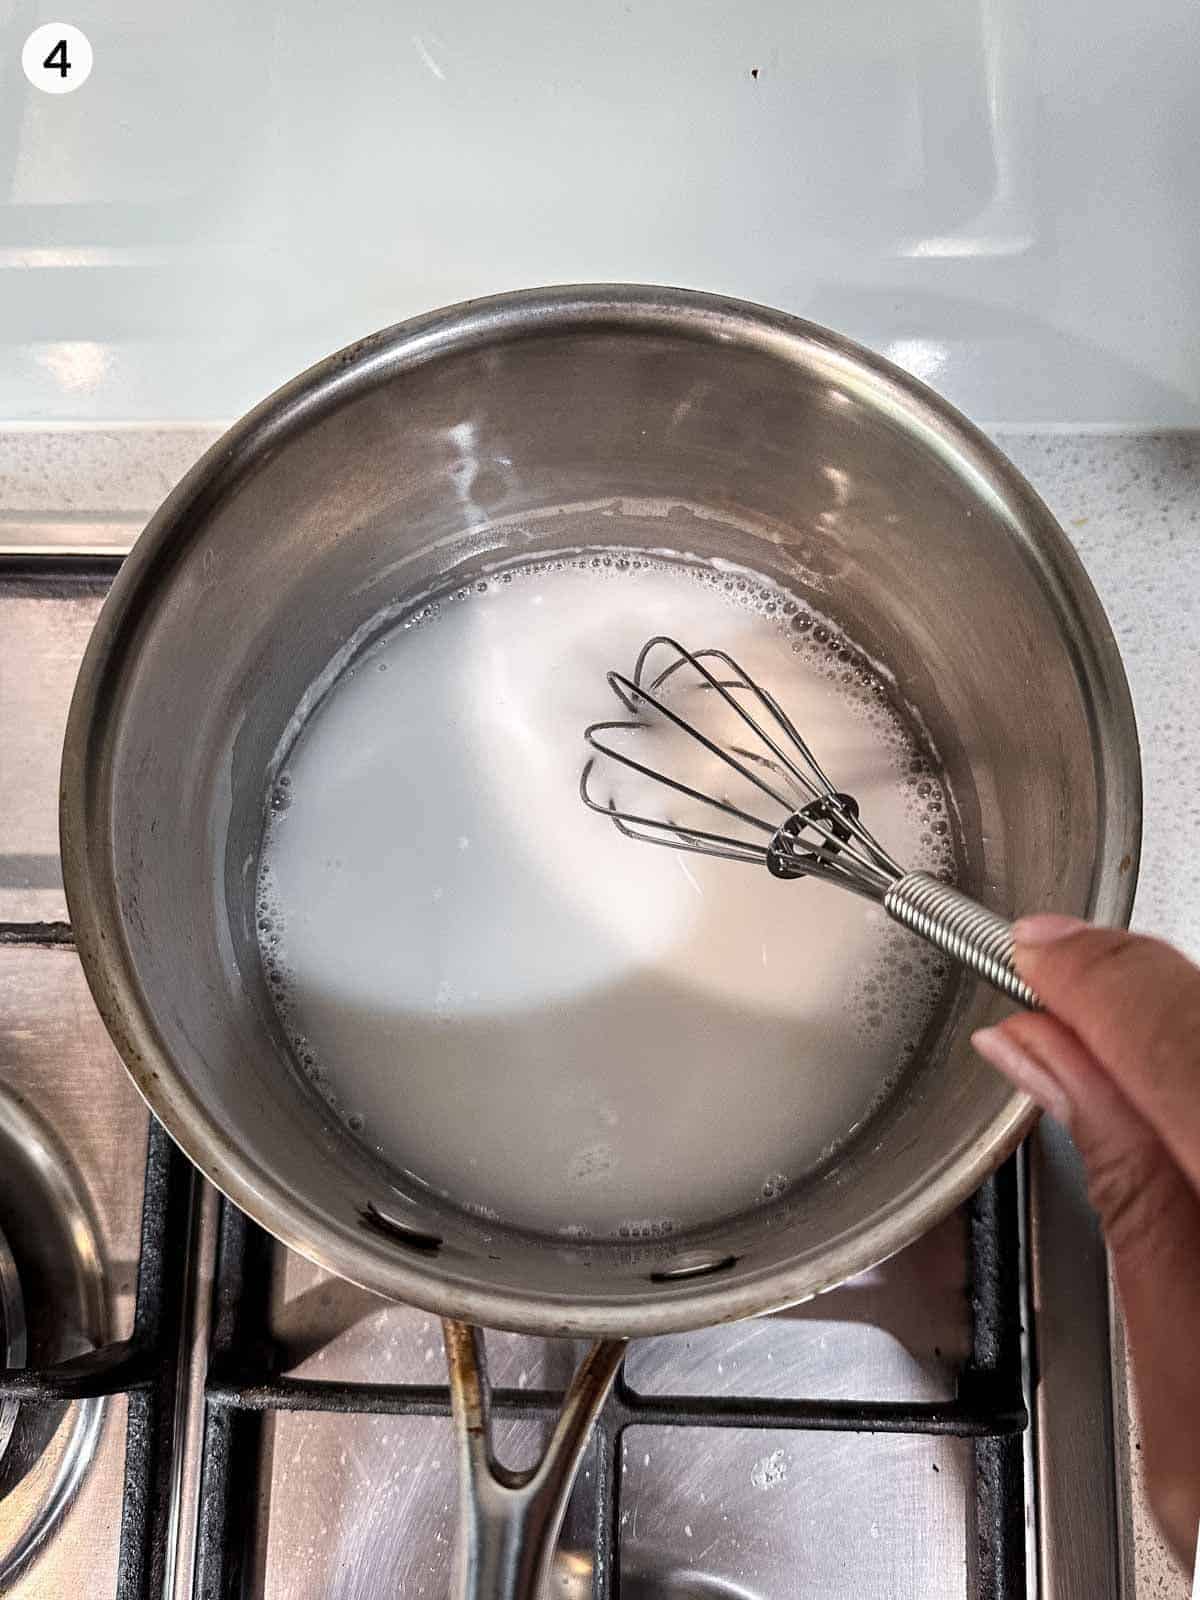
In a small saucepan on medium heat, add the glutinous rice flour and water and stir with a whisk. Boil for 2-3 minutes. Remove from the heat and continue to whisk until all lumps have been removed and you have a clear paste.
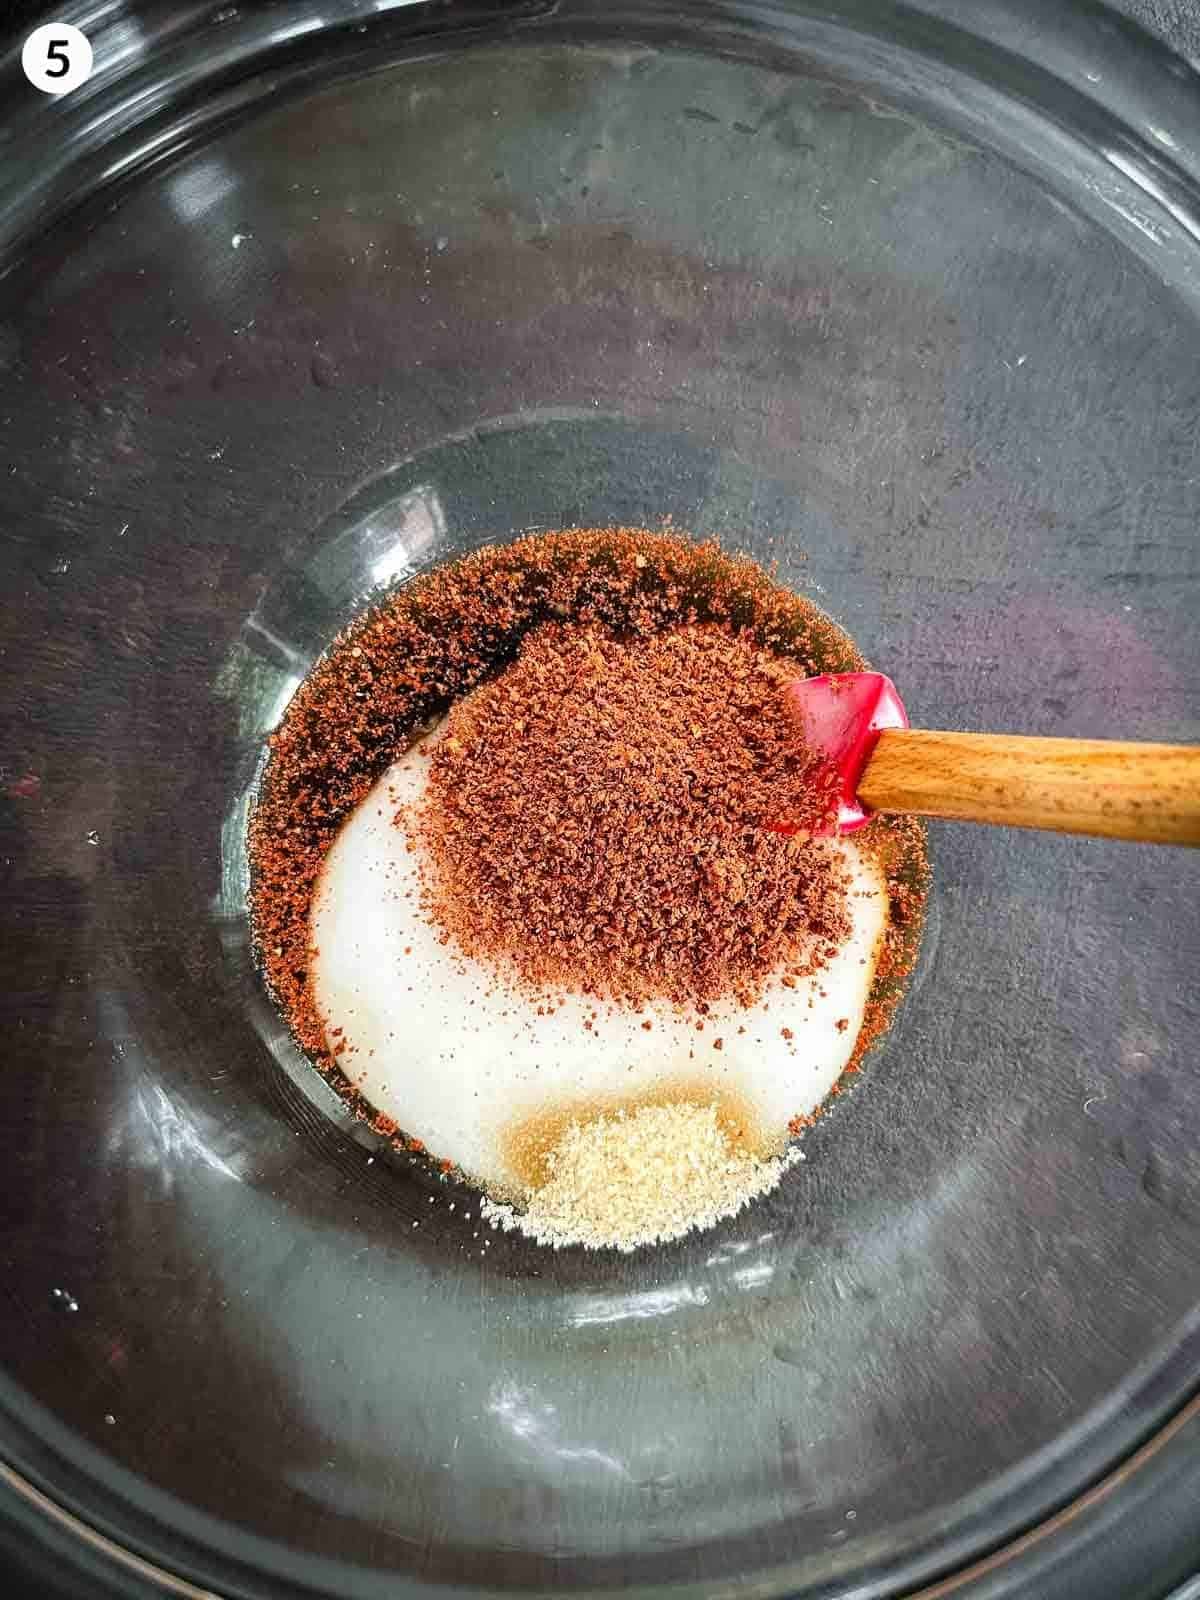
In a mixing bowl, add the rice flour mixture, fish sauce, gochugaru and sugar. Mix until well combined.
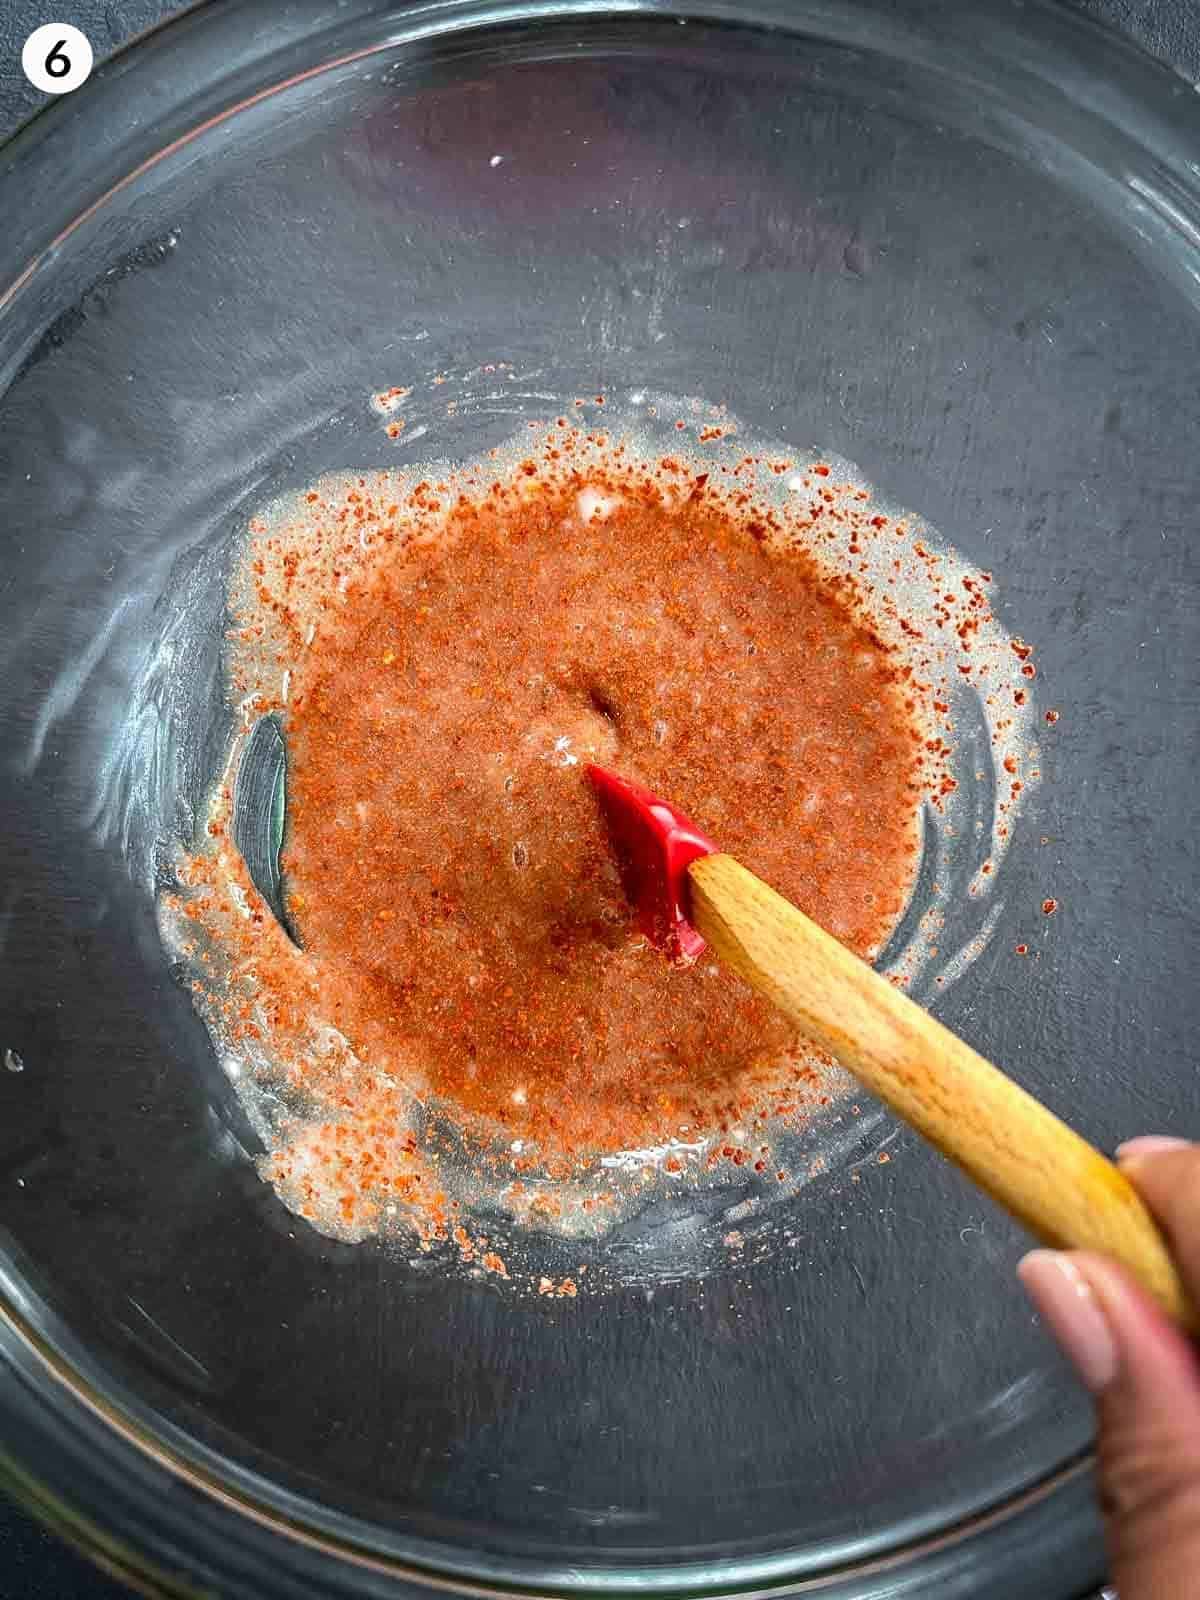
Add the chives and mix well. If it is a big thick, add a little bit of water.
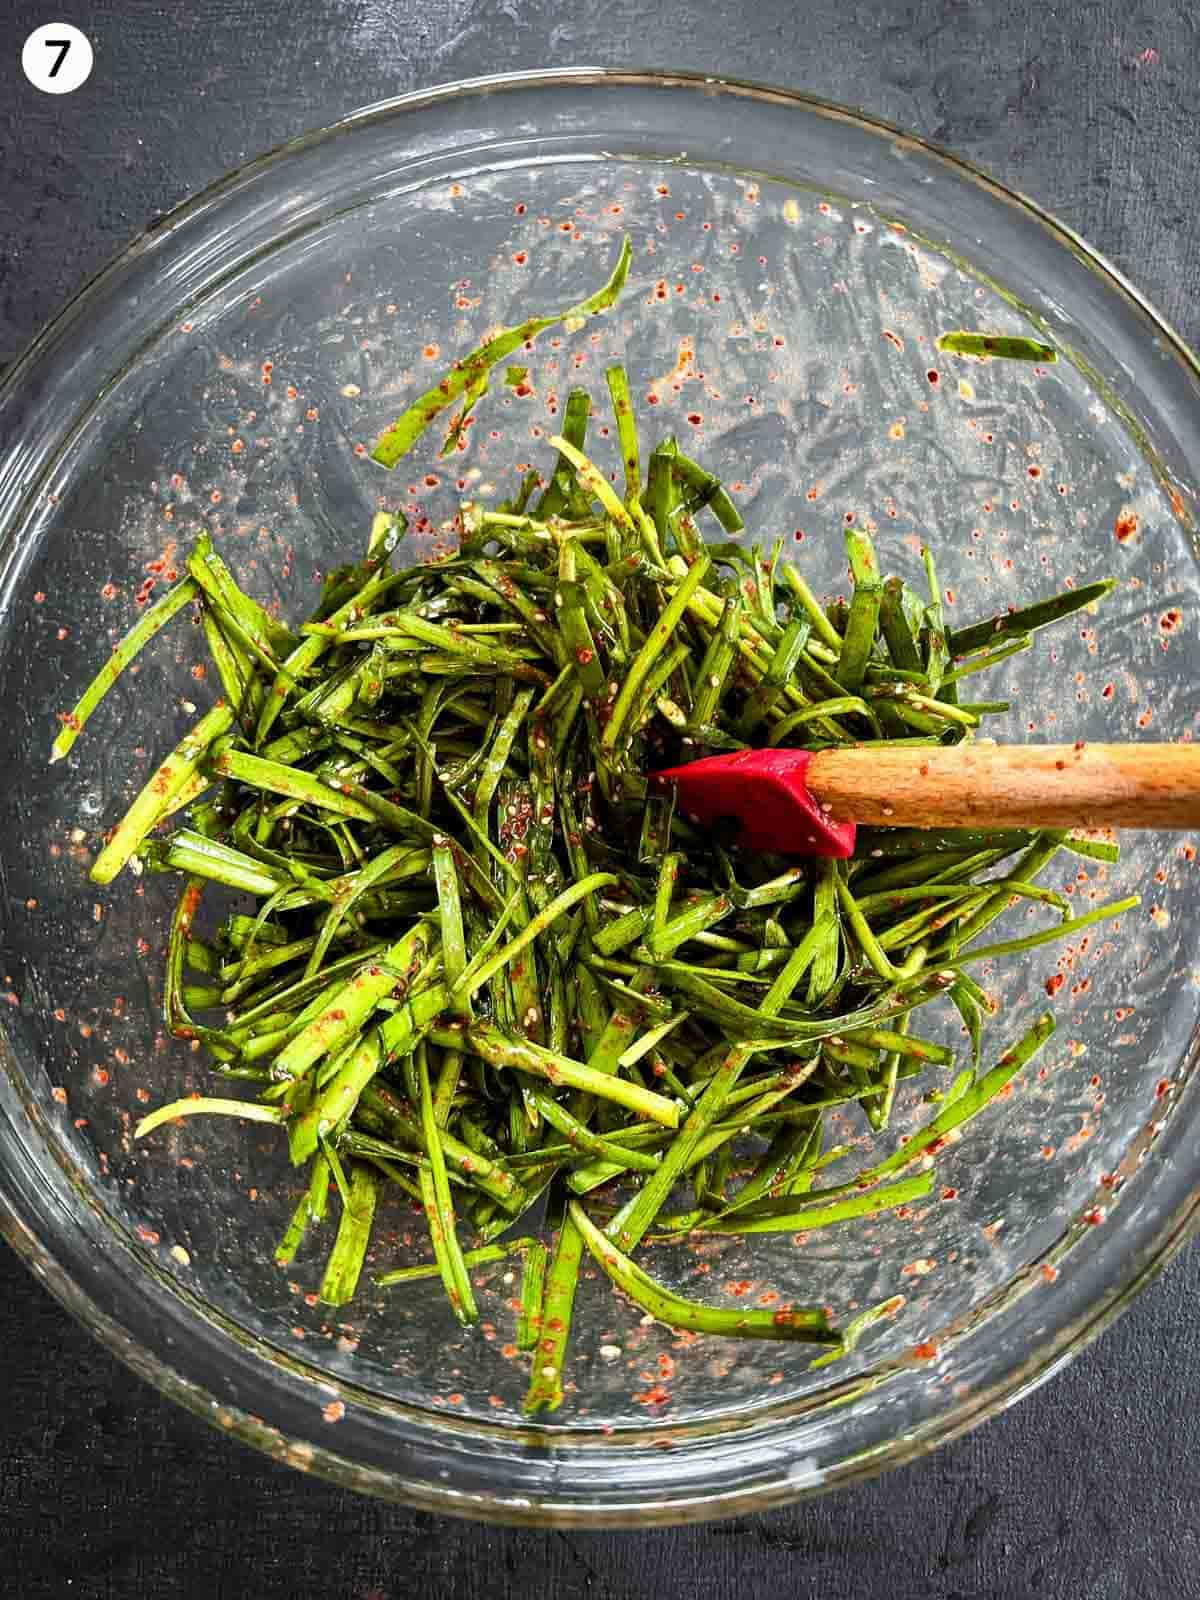
Add sesame seeds, mix well and let it sit for at least 30 minutes before serving. You will notice the chives would have wilted by then and be less raw.
How to Make This Side Dish Perfectly [Expert Tips!]
Dry the chives: If you’re washing the chives, ensure that they are nice and dry before adding them to the mixture. You don’t want this side dish to be watery. The mixture should have a nice, thick consistency.
Rice flour mixture: The Koreans like to call this mixture “porridge”, although it’s not of the oat kind. This acts as a thickening agent and is crucial for the recipe, so don’t skip it.
Also, don’t stress too much when it’s all lumpy over heat. Keep whisking off heat and it will become smooth.
Give it time: Do let the chives sit in the mixture for a minimum of 30 minutes. This makes a big difference to the end dish. The chives soften a lot, and the grassy and sharp textures wilt away.
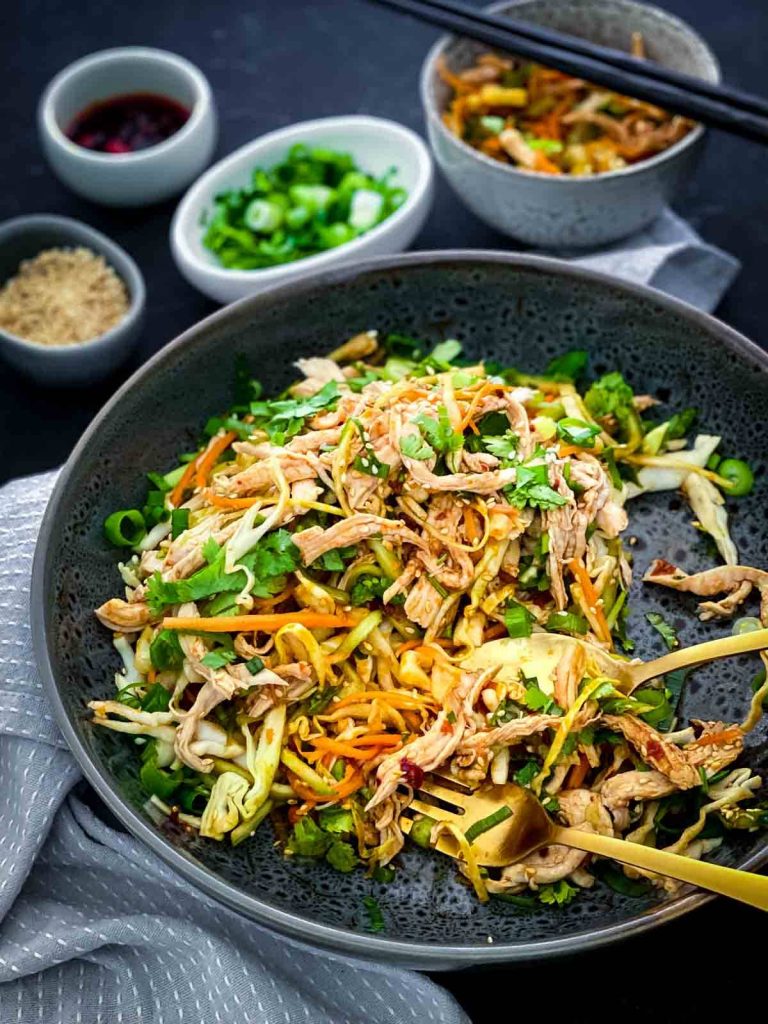
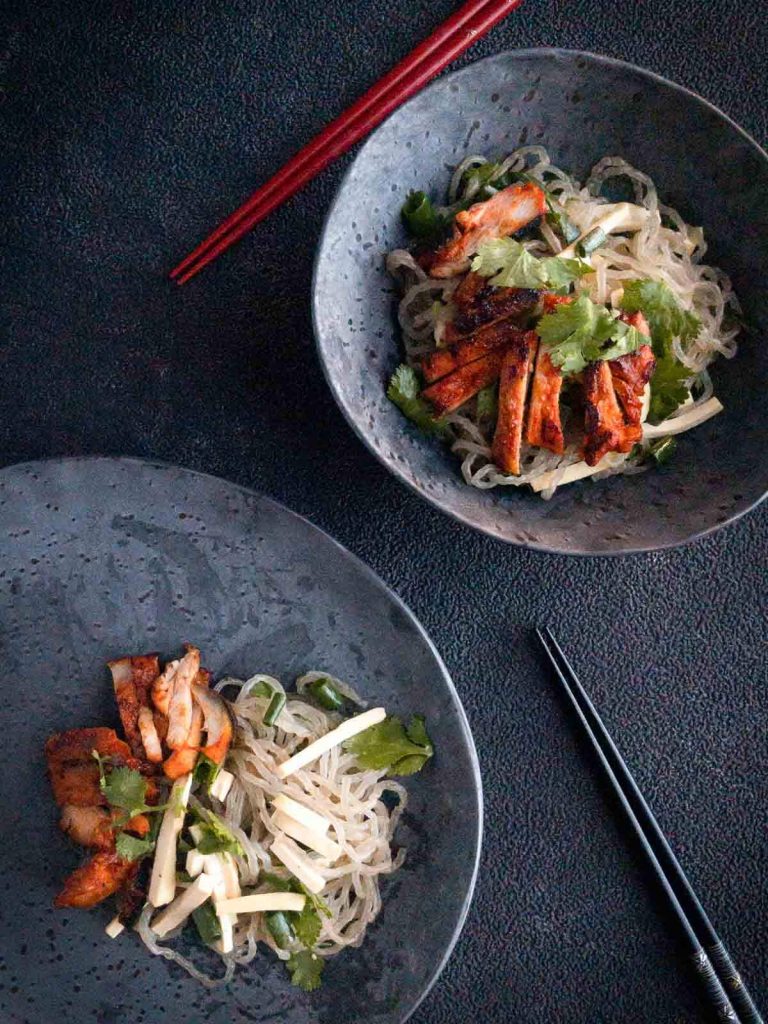
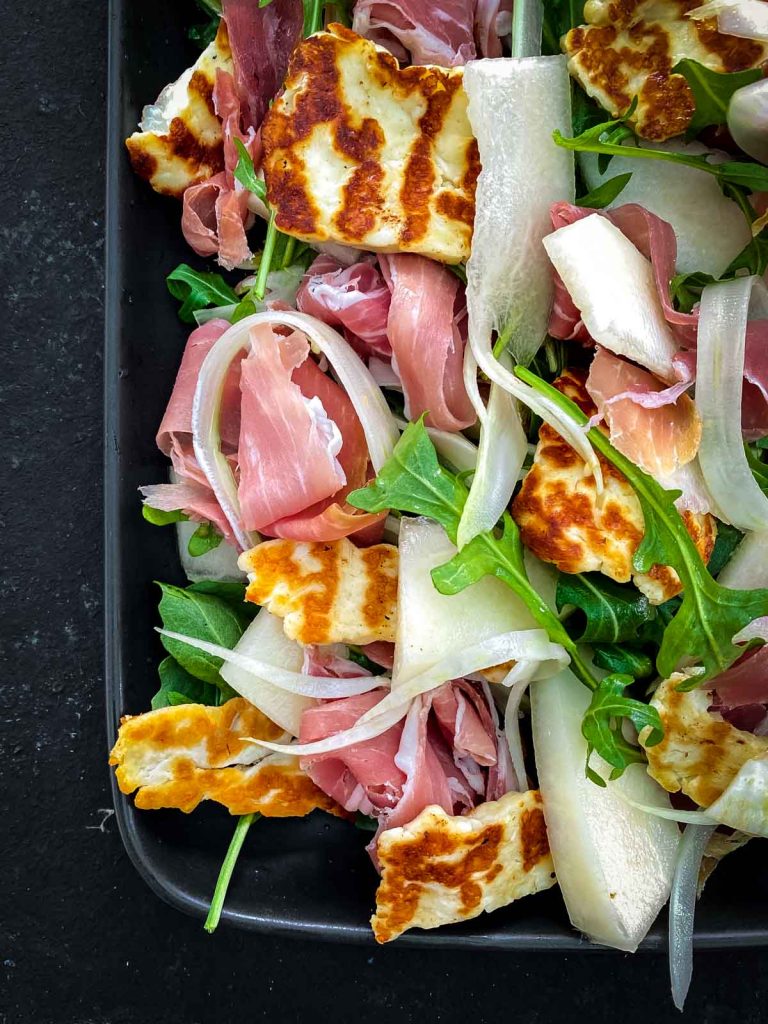
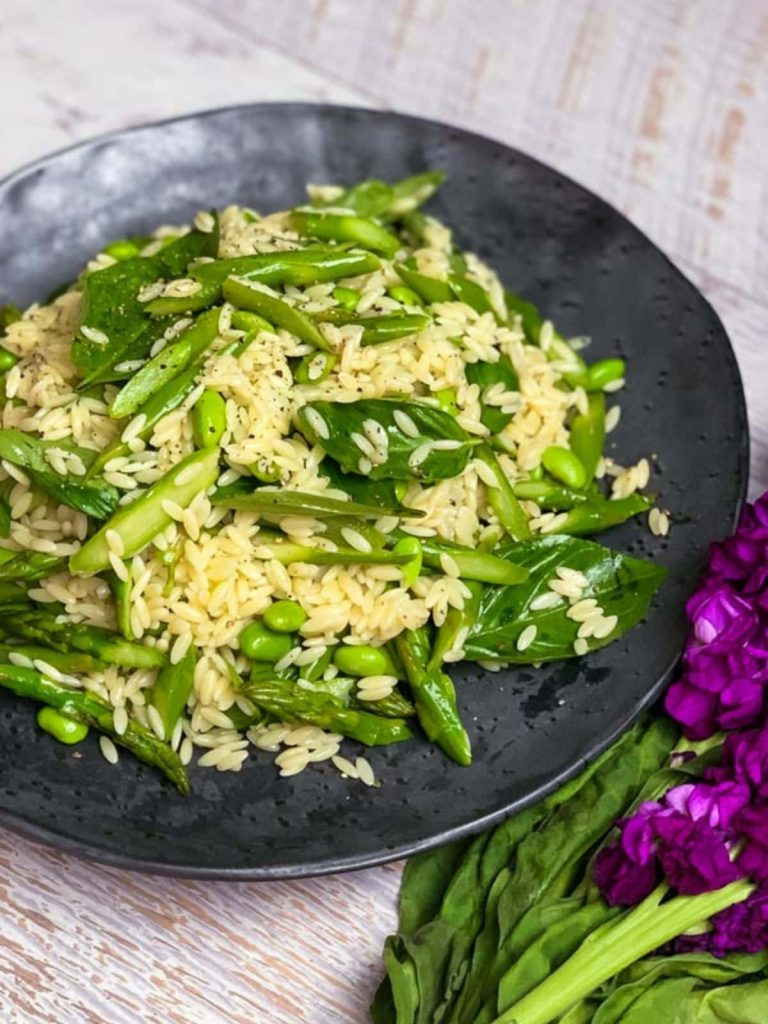
Great Mains For This Side Dish
What to serve with Asian chive kimchi? Try these delicious main dish recipes:
Korean food has taken the world by storm and increasingly easier to make your own dishes at home. The Asian chive banchan would so so well on top of some Korean bibimbap. A simple one bowl dish for mid-week dinner.
For a heartier meal, you can try these delectable Korean fried chicken and kimchi pork stew.
Frequently Asked Questions
In Korean cuisine, “buchu” (부추) refers to garlic chives. Garlic chives are a type of chive with flat, broad leaves and a mild garlic flavour. They are commonly used in Korean cooking to add a subtle garlic note to various dishes.
Asian chives are often used in salads, stir-fries, kimchi, savoury pancakes, and other dishes, providing a unique and aromatic flavour to the cuisine.
Most people may say to substitute with normal chives and mix in some garlic to mimic the taste. However, it is not the same. Best to leave the recipe for another time when you can find the real deal!
Always keen to try something a little different yet so familiar at the same time. Chalk one up for yet another easy to make Korean banchan for those Korean BBQ nights!
More Korean Side Dishes:
FEED YOUR FOMO! For more sides and salads, subscribe to our newsletter or follow us on Facebook, Instagram, Pinterest and YouTube to get our latest updates.
Asian Chive Kimchi – Buchu Kimchi [부추김치]
Ingredients
- 450 g Asian chives
- 1 tbsp glutinous rice flour
- 1 cup water
- ½ cup fish sauce
- ½ cup gochugaru
- 1 tbsp sugar
- 2 tbsp white sesame seeds, roasted
Click on the toggle below for conversion to US Cooking Units.
Instructions
- Cut off the ends of the Asian chives. Then cut into 3 equal parts.
- In a small saucepan on medium heat, add the glutinous rice flour and water and stir with a whisk. Boil for 2-3 minutes. Remove from the heat and continue to whisk until all lumps have been removed and you have a clear paste.
- In a mixing bowl, add the rice flour mixture, fish sauce, gochugaru and sugar. Mix until well combined.
- Add the chives and mix well. If it is a big thick, add a little bit of water.
- Add sesame seeds, mix well and let it sit for at least 30 minutes before serving. You will notice the chives would have wilted by then and be less raw.
Notes
- Can’t find glutinous rice flour? Be on the lookout for sweet rice flour as well as they are one and the same thing. Otherwise just use all-purpose flour to create that thick concoction.
- For a vegan option, replace fish sauce with a vegan version or you can use soy sauce. This will still give the banchan the slight umami flavour.
- If you prefer your buchu kimchi to be fermented, leave it in an airtight container at room temperature for 2 days and then place in the fridge. This will give it a slightly sour taste.
- If you’re washing the chives, ensure it is nice and dry before adding to the mixture. You don’t want this side dish to be watery. The mixture should have a nice, thick consistency.
- For the rice flour mixture, the Koreans like to call this mixture “porridge”, although it’s not of the oat kind. This acts as a thickening agent and is crucial for the recipe so don’t skip it. Also, don’t stress too much when it’s all lumpy over heat. Keep whisking off heat and it will become smooth.
- Be sure to give it time. Do let the chives sit in the mixture for a minimum of 30 minutes. This makes a big difference to the end dish. The chives soften a lot, and the grassy and sharp textures wilt away.
Nutrition
*Disclaimer: Nutritional information provided is an estimate only and generated by an online calculator.
Disclaimer: This site contains affiliate links to products. We may receive a commission for purchases made through these links at no additional cost to you.


Luckily I have all the ingredients in hand, I tried this delicious. Perfect for any kimchi fan.
I have found the most delicious and creative topping for my fried rice!
But really, it’s perfect for adding a little Korean flair to any meal. So easy and tasty. Yum!
This was so flavorful! The recipe was easy to follow and so delicious.
Gotta try this recipe if you love kimchi. The Asian chive is amazing!
This was the first kimchi I’ve made!!! It was much easier than I thought and the results were delicious!!!! A+!